Related
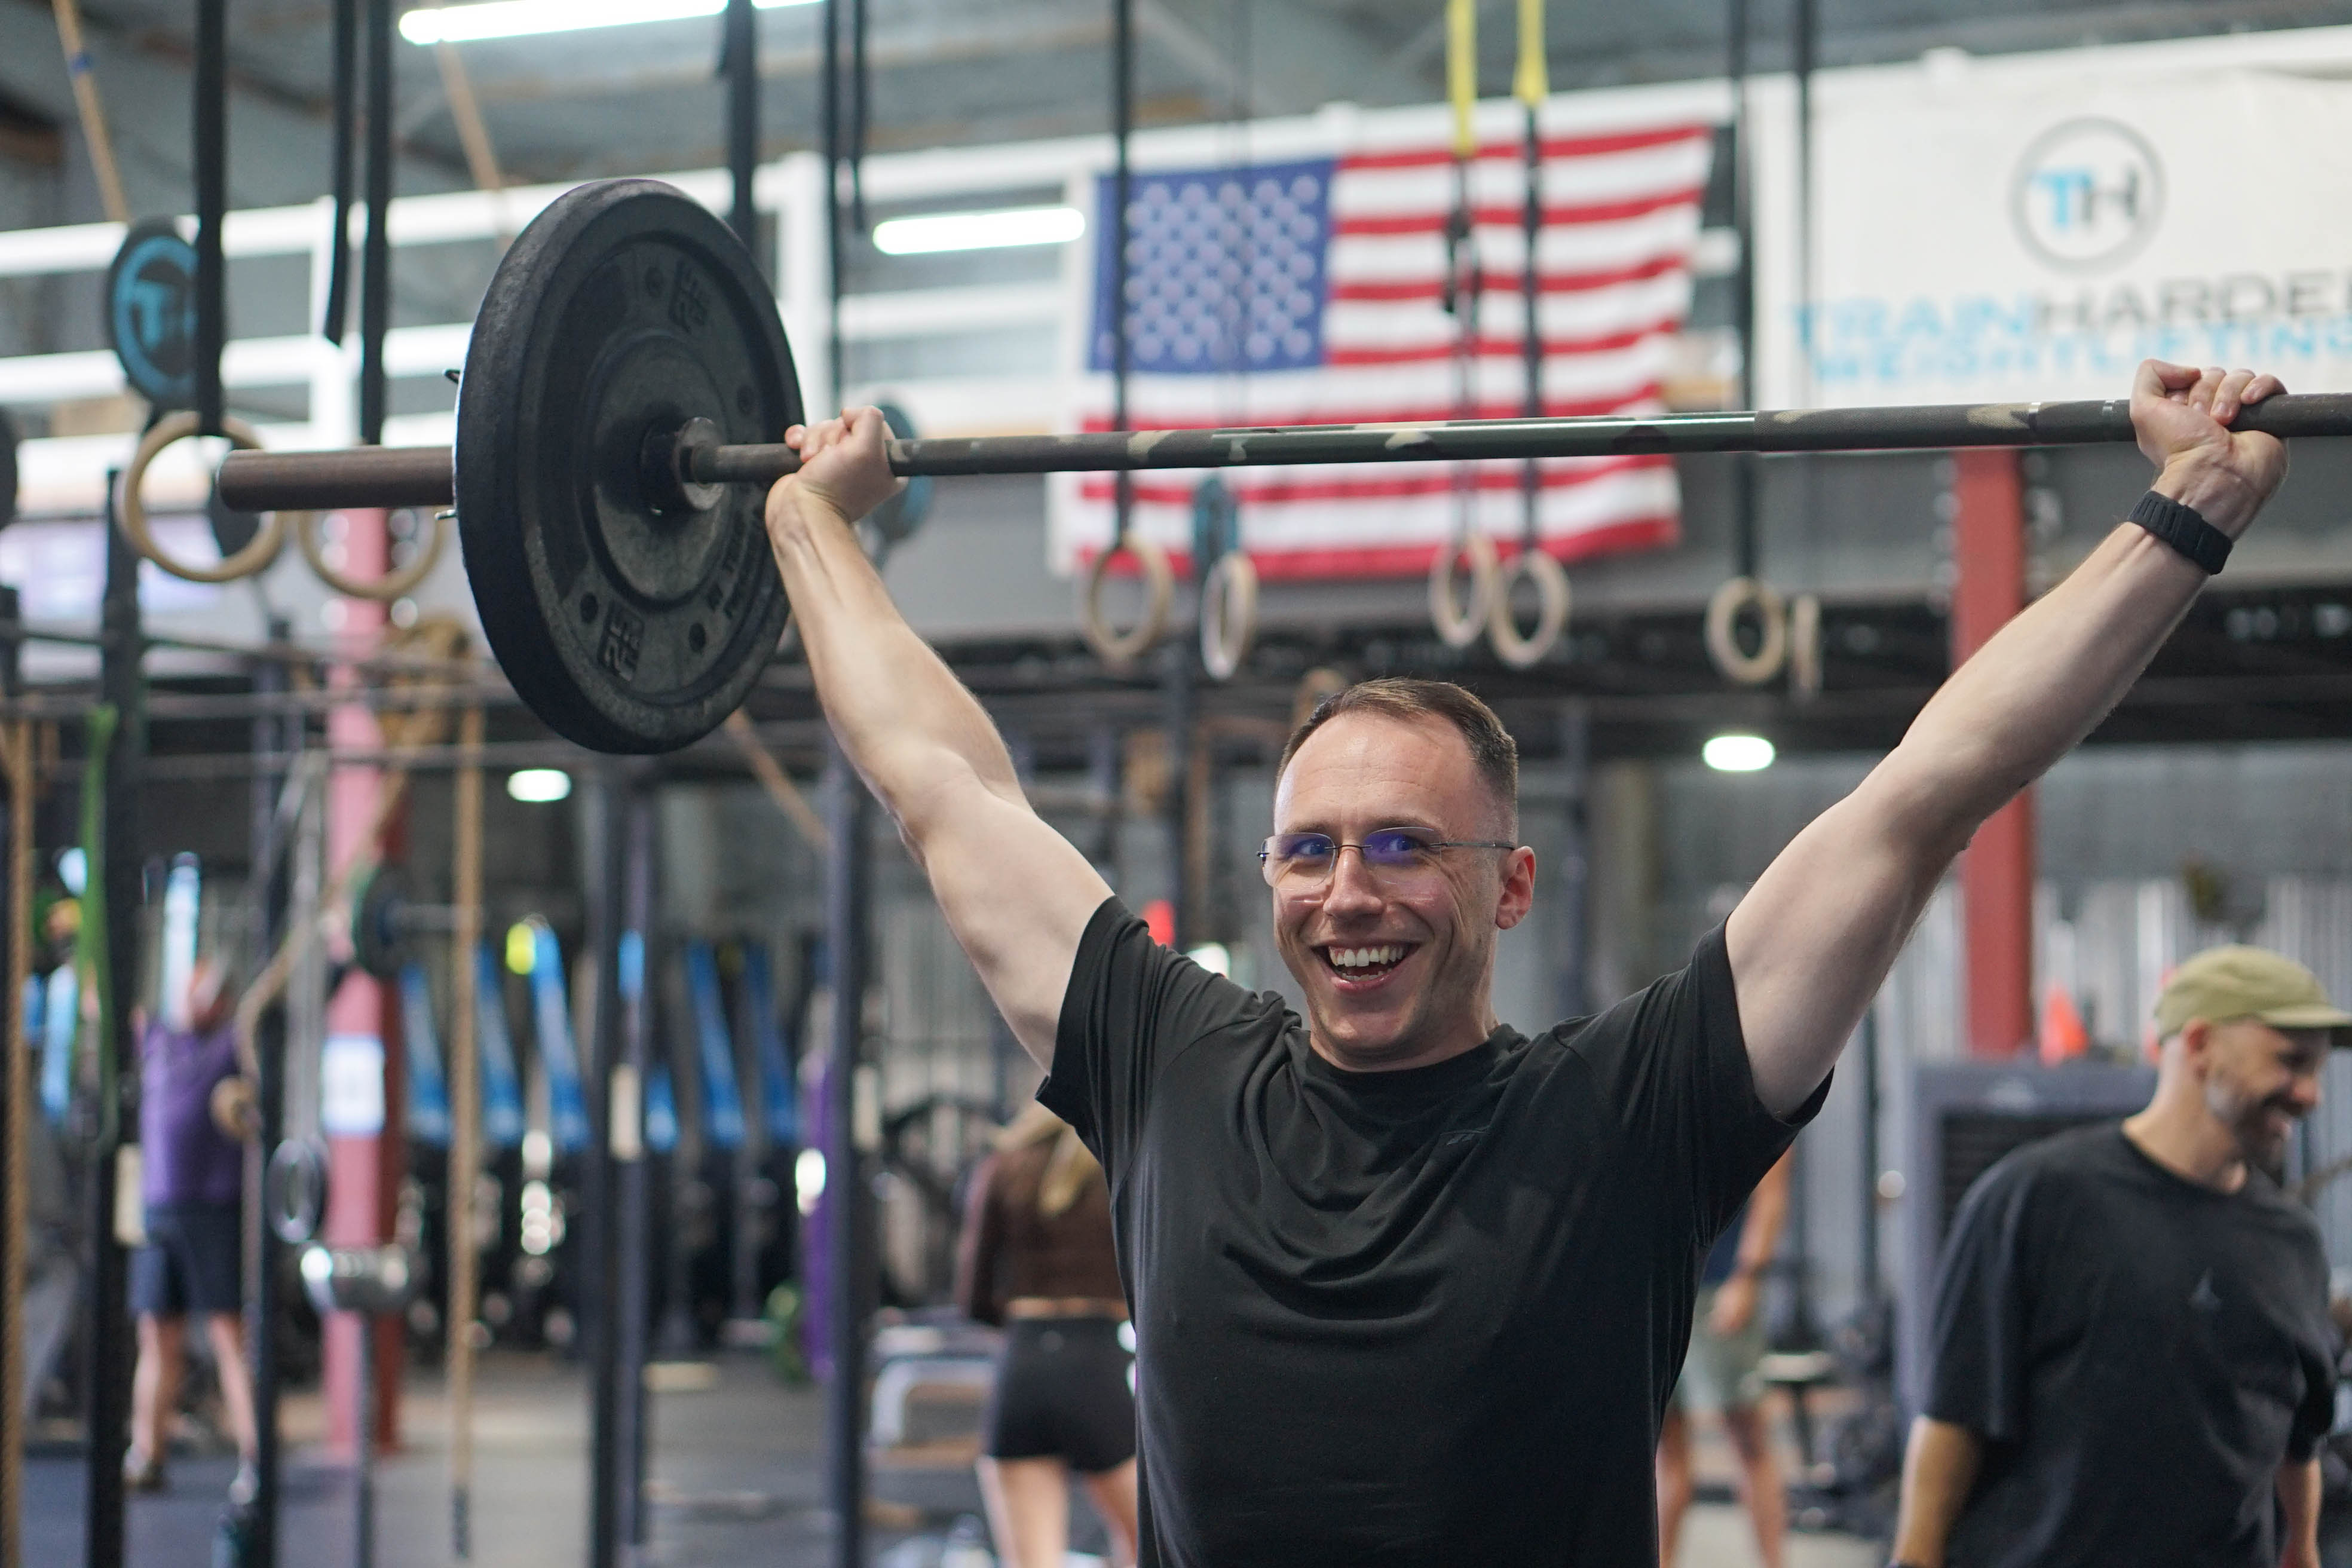
Friday Febraury 27th
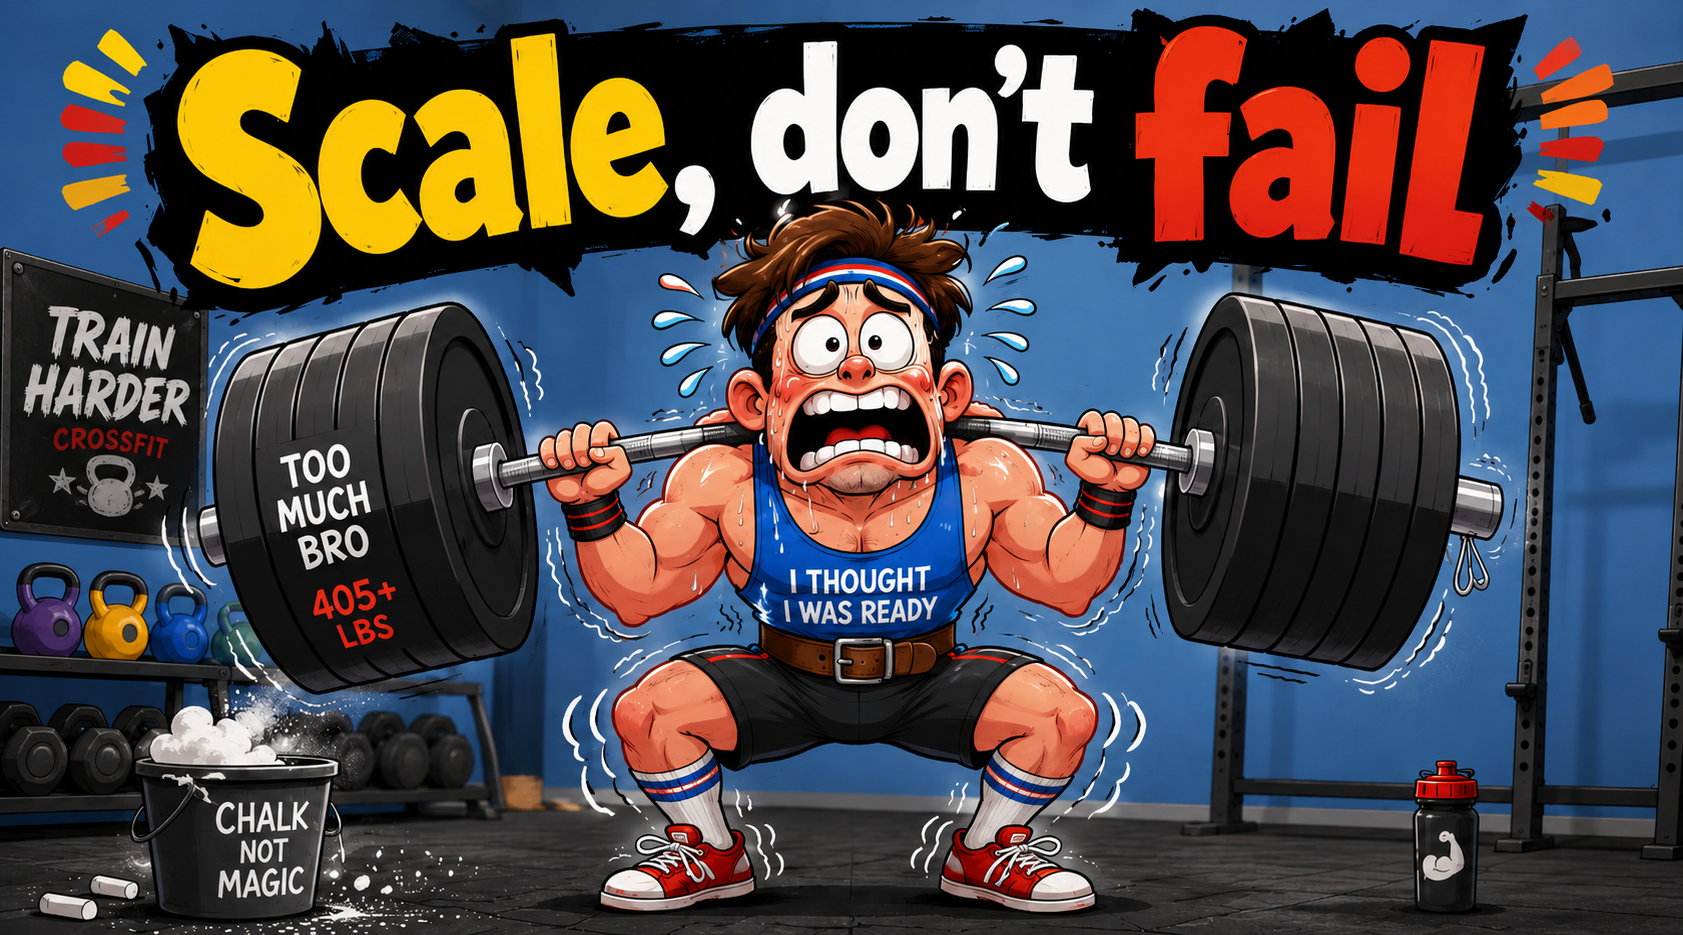
The workout of the day is 26.1
Strategy below
For Time:
20 wall ball shots
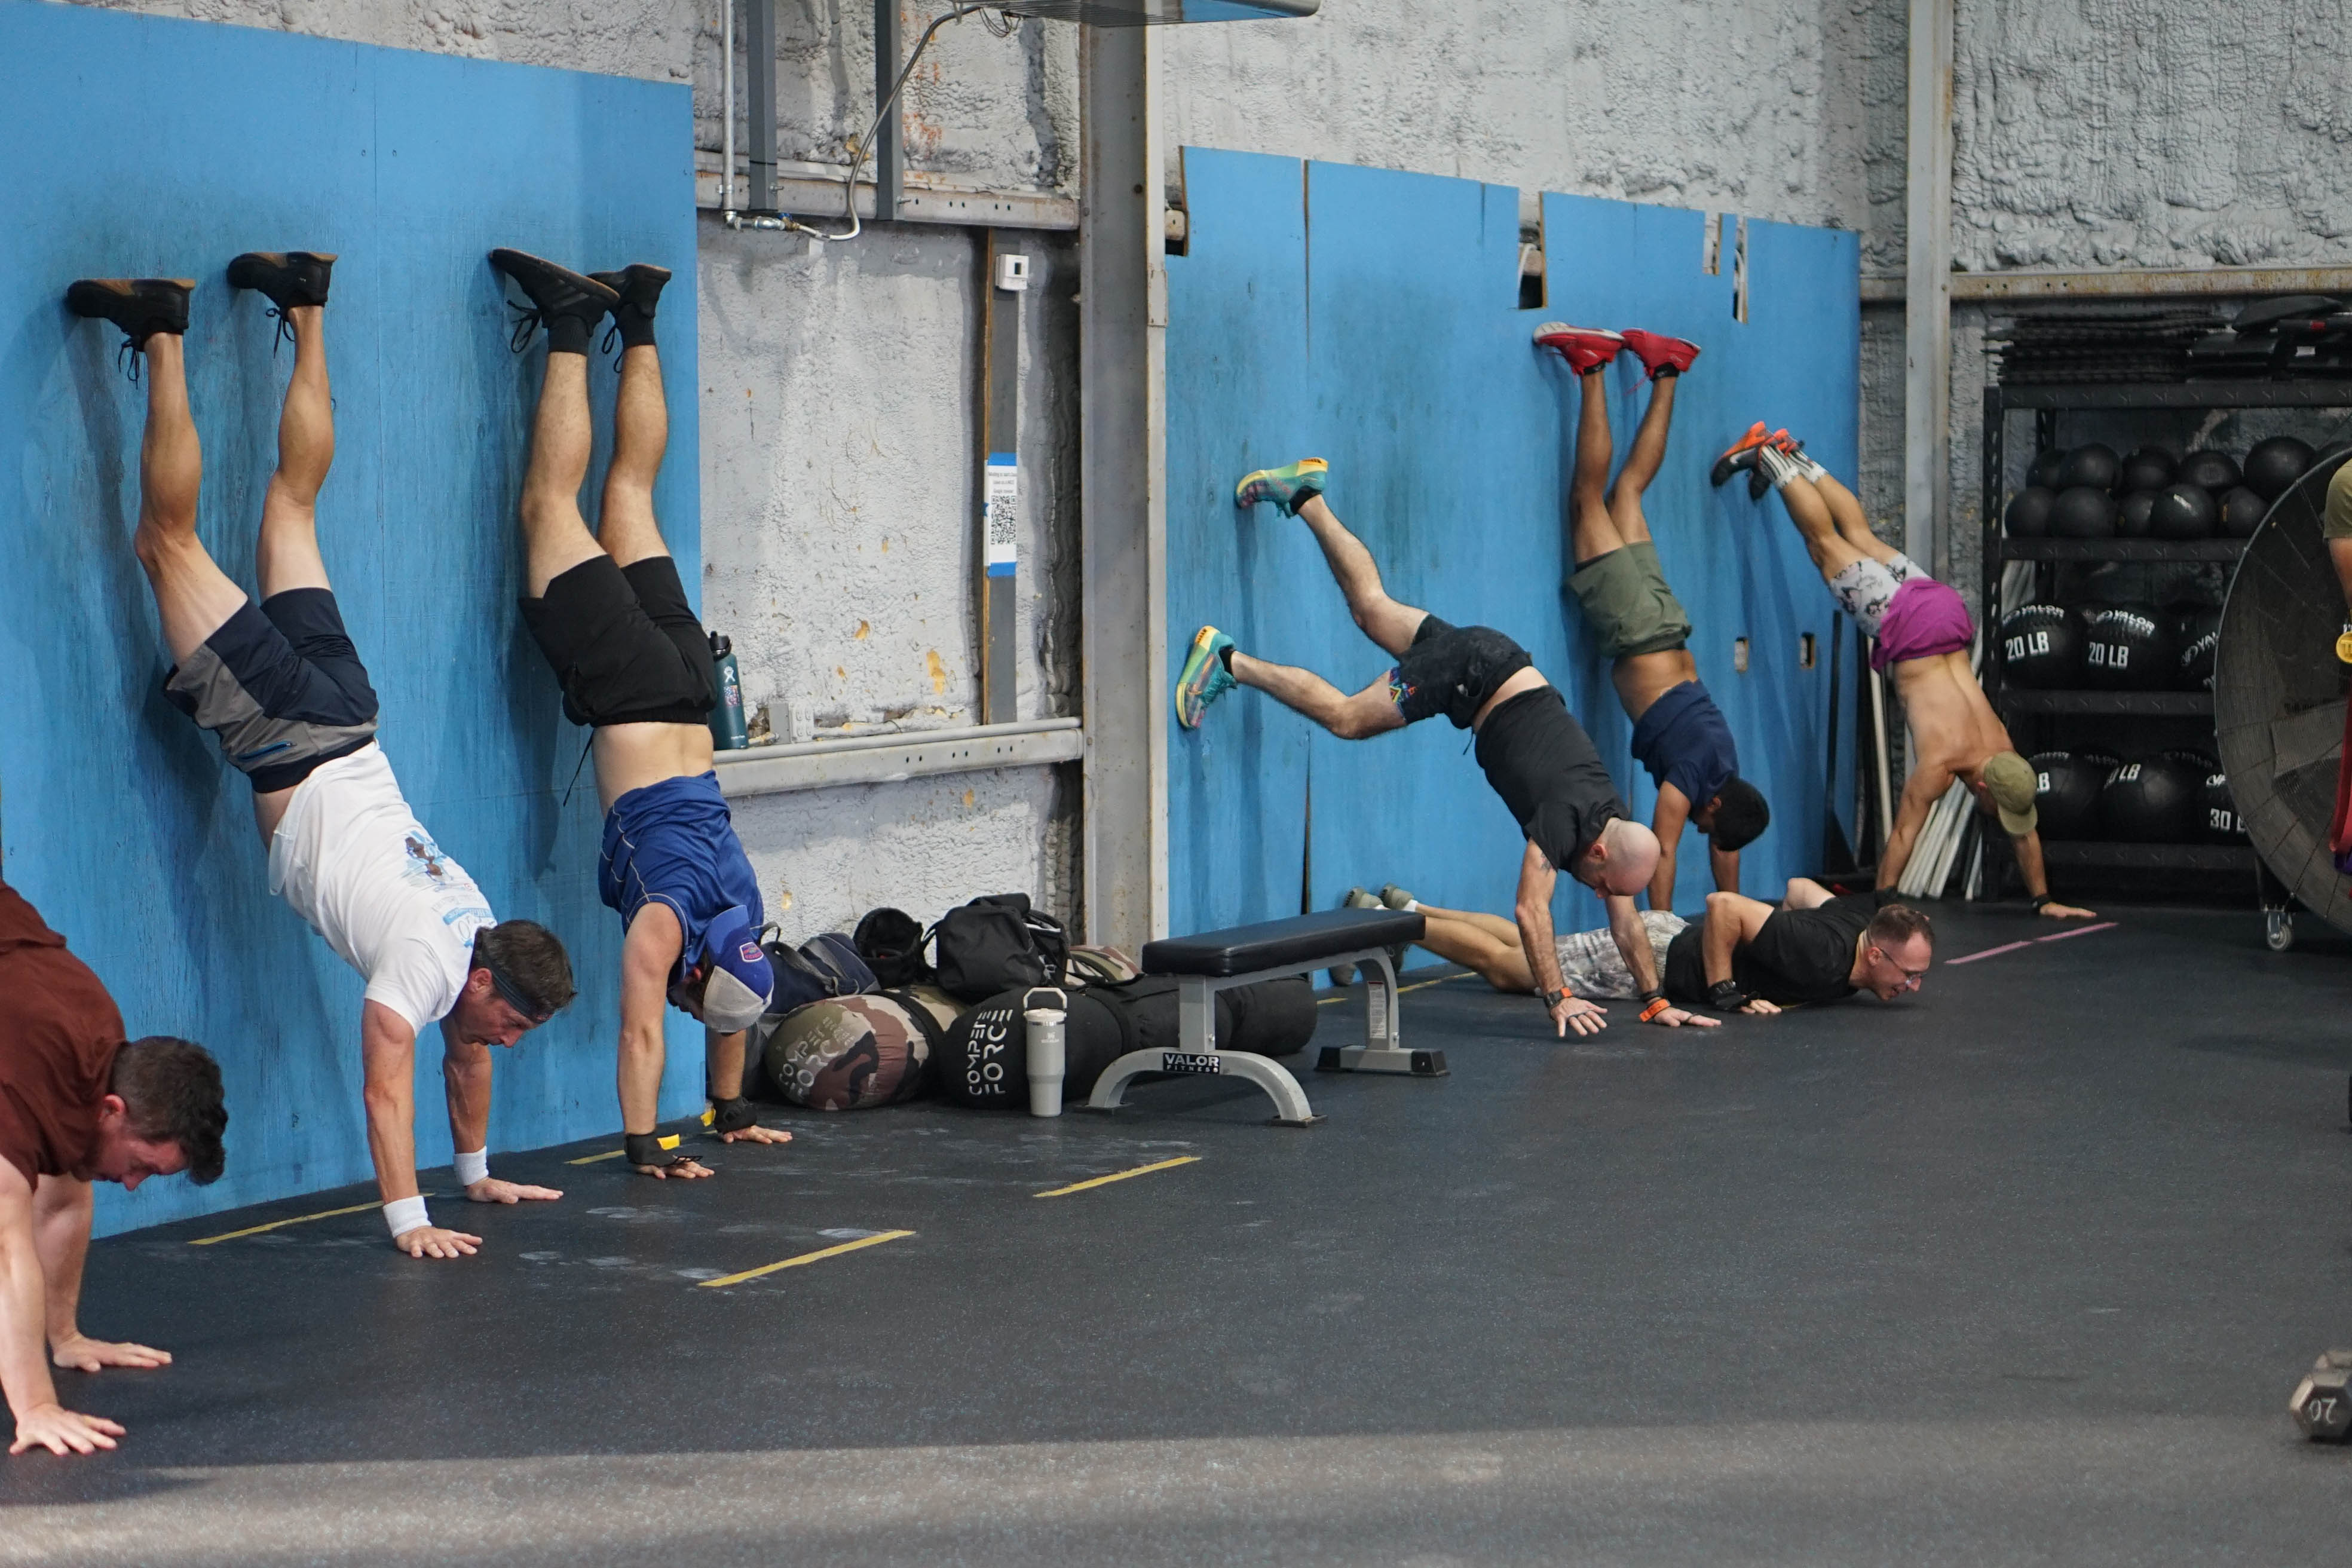
18 box jump-overs
30 wall ball shots
18 box jump overs
40 wall ball shots
18 medicine-ball box step-overs
66 wall-ball shots
18 medicine-ball box step-overs
40 wall-ball shots
18 box jump-overs
30 wall-ball shots
18 box jump-overs
20 wall-ball shots
Time cap: 12 minutes
♀ 14-lb (6-kg) medicine ball, 9-foot target, 20-inch box
♂ 20-lb (9-kg) medicine ball, 10-ft target, 24-inch box
Scaled
For time:
20 wall-ball shots
18 box jump-overs
30 wall-ball shots
18 box jump-overs
40 wall-ball shots
18 medicine-ball box step-overs
66 wall-ball shots
18 medicine-ball box step-overs
40 wall-ball shots
18 box jump-overs
30 wall-ball shots
18 box jump-overs
20 wall-ball shots
Time cap: 12 minutes
♀ 10-lb (4-kg) medicine ball, 9-foot target, 20-inch box (may step up)
♂ 14-lb (6-kg) medicine ball, 10-foot target, 24-inch box (may step up)
Foundations
For time:
20 wall-ball shots
18 box step-overs
30 wall-ball shots
18 box step-overs
40 wall-ball shots
18 medicine-ball box step-overs
66 wall-ball shots
18 medicine-ball box step-overs
40 wall-ball shots
18 box step-overs
30 wall-ball shots
18 box step-overs
20 wall-ball shots
Time cap: 12 minutes
♀ 10-lb (4-kg) medicine ball to a 9-foot target, 20-inch box
♂ 14-lb (6-kg) medicine ball to a 10-foot target, 20-inch box
*The load, box height, and target height are suggested starting points. If you are completing all the workouts in the Foundations division, you are free to decrease or increase the loads and/or heights as your skill level allows.
Masters 55+
For time:
20 wall-ball shots
18 box jump-overs
30 wall-ball shots
18 box jump-overs
40 wall-ball shots
18 medicine-ball box step-overs
66 wall-ball shots
18 medicine-ball box step-overs
40 wall-ball shots
18 box jump-overs
30 wall-ball shots
18 box jump-overs
20 wall-ball shots
Time cap: 12 minutes
♀ 14-lb (6-kg) medicine ball, 9-foot target, 20-inch box (may step up)
♂ 20-lb (9-kg) medicine ball, 9-foot target, 24-inch box (may step up)
Teens 13-14:
For time:
20 wall-ball shots
18 box jump-overs
30 wall-ball shots
18 box jump-overs
40 wall-ball shots
18 medicine-ball box step-overs
66 wall-ball shots
18 medicine-ball box step-overs
40 wall-ball shots
18 box jump-overs
30 wall-ball shots
18 box jump-overs
20 wall-ball shots
Time cap: 12 minutes
♀ 10-lb (4-kg) medicine ball, 9-foot target, 20-inch box
♂ 14-lb (6-kg) medicine ball, 10-foot target, 24-inch box
Stimulus: Leg Stamina / Limiter: Sustained Output in the Lower Body
RPE: 10/10 TEST!
Primary Objective: Manage quad fatigue by breaking the Wall Balls efficiently and early, don't wait until you're forced to stop. The Box Jump Overs/Step-Overs are the biggest time suck in this workout, so protect your legs and keep transitions sharp.
Secondary Objective: Stay arm-dominant on the Wall Balls to offload the quads as much as possible. The goal is to arrive at the box with legs under you. Preserve them on the Wall Balls so you can maintain your pace where it matters most.
Level 3 - 26.1 comes down to leg fatigue management, pure and simple. This is one of the only times you will hear us tell you to use your shoulders as much as possible on the wallball shots. Do not try to slow down your squat or the cyclical nature of the movement, but rely heavily on your arms to do the work at the top of each rep to save as much output in the legs as possible. We want to avoid slowing down our cadence on the box jump overs as much as possible, so adding short and intentional breaks on the wallball shots will be key here. The goal should be to get to the 18 step overs, 66 wallballs, and 18 stepovers ready to lean in and go on the attack. Everything to that point should be treated as a build into the main dose of intensity and leg fatigue. The down portion of the pyramid will be a gut check as much as anything. If you are very comfortable on the wallball, then this workout can be a little bit more reckless in your approach.
Level 2 - It is much more important that we approach this intelligently from the start, especially on the wallball shots. Look to add breaks from the start, going for 2-3-4 sets as we ascend the 30/40/66 section. In the back half of the pyramid, the same mental battle will come into play - not letting the wallball rest on the ground for too long between sets is critical. Getting through the 66 Wall Balls should be the goal here.
Level 1 - The strategy here on the wallballs will change a bit, as we look to approach them in 2-4-6 sets (on the 30-40-66) and then manage our output on the box jump overs to try to stay consistent.
Movement Strategy Breakdown:
Movement #1 Wall Ball
Strategy: Manageable sets. Your legs will have no opportunity to recover in this workout so it is very important to start with manageable sets early on. We should not be approaching failure in this movement at any point on the ascent of this workout.
Emphasize the shoulders at the top of the wallball to save the legs for the box jump overs.
Maintain efficient rack positions, even though we are trying to emphasize the shoulders on the wallball more.
Recommended Approach:
Advanced: Maintain a steady pace from the beginning but we are looking to go unbroken for 20 reps, with the following sets being broken 1-2 times at most.
Intermediate: Sets of 10 with a consistent step back and breath before resuming your next set. Sets of 10 can be very fast and efficient as long as you do not let your rest breaks get away from you.
Beginner: Picking a set number you feel confident you could maintain for the entire duration of this workout. Same rest strategy as above where we work to maintain a consistent rest break throughout.
Movement #2 Box Jump Overs
Strategy: Pick a steady space on this movement, and while maintaining a steady cadence we are trying to use as little energy as possible here. Jumping with just enough intensity to get to the box. Land low, and make sure to turn in the air so you are landing sideways on the box for a smooth step off to the other side.
Stay low at the top of the box, adding extra ‘stand up’ will add more fatigue to the legs.
Focus on breathing through this movement, as heart rate getting out of control here will compound on the wallball.
Recommended Pacing:
- Advanced: We are looking to make sure that we are landing on the far side of the box on all reps so that we are smoothly stepping off as soon as we land. We are landing sideways on the top of the box, and looking to continue rotating back to face the box by the time we have fully stepped off.
Intermediate: Working to keep a consistent cadence, taking 1 intentional break in the middle of our set to take breath and restore energy in our legs.
- Beginner: Plan to take 1-2 intention breaks on each set of box jumps. This will help to prevent hitting a point of failure when returning to the wall balls.
Movement #3 Box Step up with Wall Ball at shoulder.
Strategy: Settle into a consistent pace early. There is not much work to be done on this movement relative to the rest of the workout. Need to consider that on the first set of step ups we are trying to settle our heart rate as we approach the largest set of wall balls in this workout.
Shorter athletes should look to hug the ball to have more control over momentum on the stepovers, while taller athletes should look to shoulder rack it.
Focus on spending as little time on the top of the box as possible, as that is the most demanding position.
Recommended Breakdown:
- Advanced: Plan to finish your set of wall balls and immediately move to the box. Place the ball on the back side of your shoulders. This will help you to use more hips and hamstrings on this movement while the quads recover from the wall balls.
- Intermediate: Trying to move through this movement unbroken but taking a break at the midpoint in order to let legs recover a little.
- Beginner: Breaking this into 2-3 sets in order to make sure that you do not hit a point of failure on this movement. Thai should be a movement where we are trying to recover from the wall balls as much as we can before returning back to the wall balls.
Final Notes:
Start Smart, Finish Strong
Stick to your plan.
Stay diligent on your transitions.
If executed well, level 3 athletes should be looking to get into the set of 30 wallball shots on the back of the ladder as a rough goal. Level 2 athletes should be looking to finish the 66 wallballs and get into the 18 stepovers on the back side of the pyramid as a rough goal. Level 1 athletes should be looking to get as deep into the set of 66 wallballs as possible.